|
The perfect wing...it's what we all strive for. Although, I feel confident in my makeup abilities, I do not always get the perfect wing. I have tried multiple different types of liners and products that claim to make creating a wing "as easy as 1, 2, 3"! Finally, I stumbled upon my miracle liner, at the Dollar Tree! 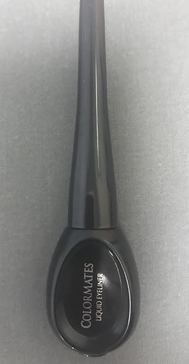 Available at the Dollar Tree for $1.00 or online Now, I want to start off that this product worked for me...it may not work for everyone. What I personally love is that the tip is pliable, yet sturdy. It allows you to create a precise line without feeling overly stiff. Also, the end of the brush is tapered and can create a thick or super thin line. The formulation of the eyeliner is great too, it is not overly thick or thin and not at all watery. When first applied, it appears to have a shine but it does dry matte (which I prefer). 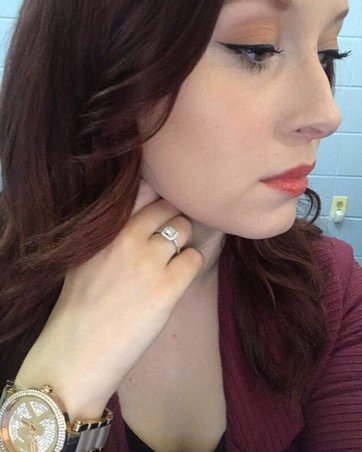 I personally love a winged liner that is elongated and thins out at the end. I have somewhat downturned eyes, so the upward 'flick' at the end of the wing looks awkward on my eye shape. If you have downturned eyes like me, a straight elongated wing is the most flattering. So, how do YOU slay your winged liner? 1) Figure out your eyeshape, each eyeshape will look best with a different type of wing. -If your eyes do not have a crease, you have a monolid eye shape. This eyeshape looks best with a long liner, not the typical upward flick. The idea is to elongate your eye to create a more open look. -If you were to draw a straight line on the center of your eye and continue to your outer corner and your line would go downward, you have downturned eyes. This is the same eye shape as me! A straight elongated line looks best. -If your eyes are almond shape (part of your iris dissapears under your lid), a classic cat eye is the best way to go! Use your liner to create an upward flick at the end of your wing. -If you can see the whites of your eyes from any angle, you have a round eye shape. a thick liner with a short upward wing looks great! It can create a doll-like effect. -If you have excess skin folding down from your brow bone, you have hooded eyes. This eye shape looks best with an extended upward wing. It helps open your eyes and creates a lifted look! 2) Use a gray, brown, or white liner to outline your wing. -Whatever your eye shape, using a liner to outline your wing can make a world of difference! Once you've created your outline, you can go in with your liner and trace over it. This allows you to make the mistakes with the lighter and easier to remove pencil liner. 3) Find out what type of liner works best for you! -Personally, I really enjoy this liquid liner. But wings can be created with gel, felt tip, pen, or pencil liners. Figure out what works for you! Gel liner: Maybelline Eye Studio Lasting Drama Gel Liner ($6.79) Felt tip liner: NYX Felt Tip Liner ($9.99) Pen liner: ELF Waterproof Eyeliner Pen ($1.99) Pencil liner: Too Faced Perfect Eyes Waterproof Eyeliner ($18.99) 4) Have q-tips, makeup remover and concealer on hand! -Mistakes will happen! Using a tapered q-tip and a little makeup remover can clean up any small mishaps! Also, concealer can be used to hide imperfections and under your wing to clean it up and create a sharp line. 5) Practice makes perfect! -I cannot stress how true this is! Practicing your winged liner is the only way to perfect it! When you know that you have time to spare, or you're not leaving the house...practice! You won't feel rushed and you will be able to try different techniques and liners to find out what works best for you. Remember, even the pros have to clean up and start over sometimes! Don't be hard on yourself, and don't give up! Practice, practice practice! We love to hear your feedback! Comment below your tips and tricks and let us know what works for you! Abby |
CAB BeautyWe are two beauty lovers that started a collab! We offer reviews, looks, tips, and tricks! Archives
January 2017
Categories |
 RSS Feed
